


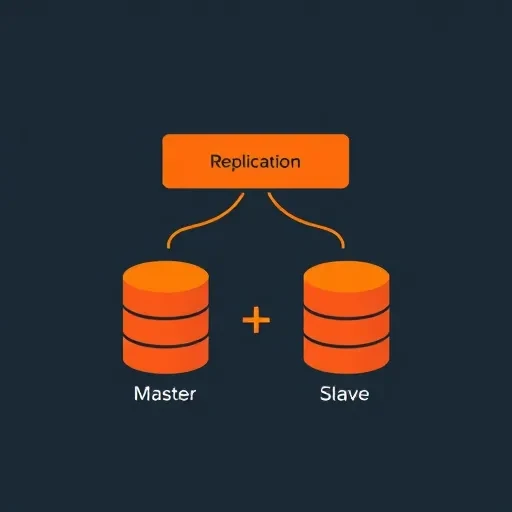
Step 1. Master Configuration
mkdir /var/log/mysql/
touch /var/log/mysql/mysql-bin.log
chown -R mysql:mysql /var/log/mysql/
On the server that will act as the master, you need to make changes to my.cnf:
# выбираем ID сервера, произвольное число, лучше начинать с 1
server-id = 1

# путь к бинарному логу
log_bin = /var/log/mysql/mysql-bin.log

# название Вашей базы данных, которая будет реплицироваться
binlog_do_db = newdatabase
Restart MySQL:
/etc/init.d/mysql restart
Step 2. Replication Privileges
Next, you need to create a user profile under which replication will occur. To do this, launch the console:
mysql -u root -p
Then create and assign privileges to the user for replication:
GRANT REPLICATION SLAVE ON *.* TO 'slave_user'@'%' IDENTIFIED BY 'password';
FLUSH PRIVILEGES;
# Grant privileges to the slave_user user with the password password
Next, lock all tables in our database:
USE newdatabase;
FLUSH TABLES WITH READ LOCK;
Check the status of the Master server:
SHOW MASTER STATUS;You will see something similar to:
mysql> SHOW MASTER STATUS;
+------------------+----------+--------------+------------------+
| File             | Position | Binlog_Do_DB | Binlog_Ignore_DB |
+------------------+----------+--------------+------------------+
| mysql-bin.000001 |      107 | newdatabase  |                  |
+------------------+----------+--------------+------------------+
1 row in set (0.00 sec)
# The highlighted values will be used to start the Slave
Step 3. Database Dump
Now you need to dump the database:
mysqldump -u root -p newdatabase > newdatabase.sql
Unlock the tables in the mysql console:
UNLOCK TABLES;Step 4. Creating the Database on the Slave
In the mysql console on the Slave, create a database with the same name as on the Master:
CREATE DATABASE newdatabase;After that, load the dump (from bash):
mysql -u root -p newdatabase < newdatabase.sql
Step 5. Slave Configuration
Transfer and load the dump to the slave server, then:
mkdir /var/log/mysql/
touch /var/log/mysql/mysql-bin.log
touch /var/log/mysql/mysql-relay-bin.log
chown -R mysql:mysql /var/log/mysql/
In the my.cnf settings on the Slave, you need to specify the following parameters:
# ID Слейва, удобно выбирать следующим числом после Мастера
server-id = 2

# Путь к relay логу
relay-log = /var/log/mysql/mysql-relay-bin.log

# Путь к bin логу на Мастере
log_bin = /var/log/mysql/mysql-bin.log

# База данных для репликации
binlog_do_db = newdatabase
Step 6. Starting the Slave
Check if server_id is set:
SHOW VARIABLES LIKE 'server_id';
We are left to enable replication; for this, you need to specify the connection parameters to the master. In the mysql console on the Slave, you need to execute the query:
CHANGE MASTER TO MASTER_HOST='10.10.0.1', MASTER_USER='slave_user', MASTER_PASSWORD='password', MASTER_LOG_FILE = 'mysql-bin.000001', MASTER_LOG_POS = 107;
# The specified values are taken from the Master settings
After that, start replication on the Slave:
START SLAVE;If you encounter the error Could not initialize master info structure;
RESET SLAVE;and again
CHANGE MASTER....
Replication Status
To check the replication status on the Slave, you can use the query:
mysql>SHOW SLAVE STATUS\G

             Slave_IO_State: Waiting for master to send event
                Master_Host: localhost
                Master_User: root
                Master_Port: 3306
              Connect_Retry: 3
            Master_Log_File: gbichot-bin.005
        Read_Master_Log_Pos: 79
             Relay_Log_File: gbichot-relay-bin.005
              Relay_Log_Pos: 548
      Relay_Master_Log_File: gbichot-bin.005
           Slave_IO_Running: Yes
          Slave_SQL_Running: Yes
            Replicate_Do_DB:
        Replicate_Ignore_DB:
         Replicate_Do_Table:
     Replicate_Ignore_Table:
    Replicate_Wild_Do_Table:
Replicate_Wild_Ignore_Table:
                 Last_Errno: 0
                 Last_Error:
               Skip_Counter: 0
        Exec_Master_Log_Pos: 79
            Relay_Log_Space: 552
            Until_Condition: None
             Until_Log_File:
              Until_Log_Pos: 0
         Master_SSL_Allowed: No
         Master_SSL_CA_File:
         Master_SSL_CA_Path:
            Master_SSL_Cert:
          Master_SSL_Cipher:
             Master_SSL_Key:
      Seconds_Behind_Master: 8